How do I upgrade my cloud vps?
Before you upgrade
Section titled “Before you upgrade”Ensure your compute has both the QEMU guest agent and the cloud-utils-growpart package installed. Most computes have these by default, but you can verify by following our guide: How to install QEMU guest agent and cloud-utils-growpart.
Your compute will require a reboot after the upgrade for the new resources to take effect.
Upgrade steps
Section titled “Upgrade steps”-
Log in to your client area.
-
Navigate to Services > My Services from the menu.

-
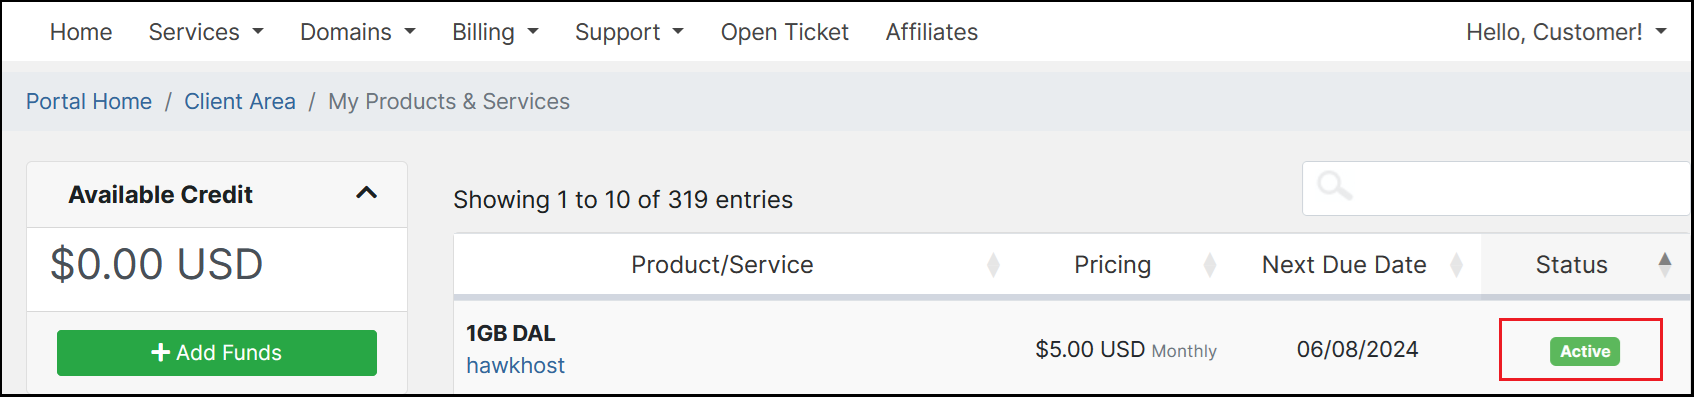
Click the green Active button next to the cloud vps you wish to upgrade.
-
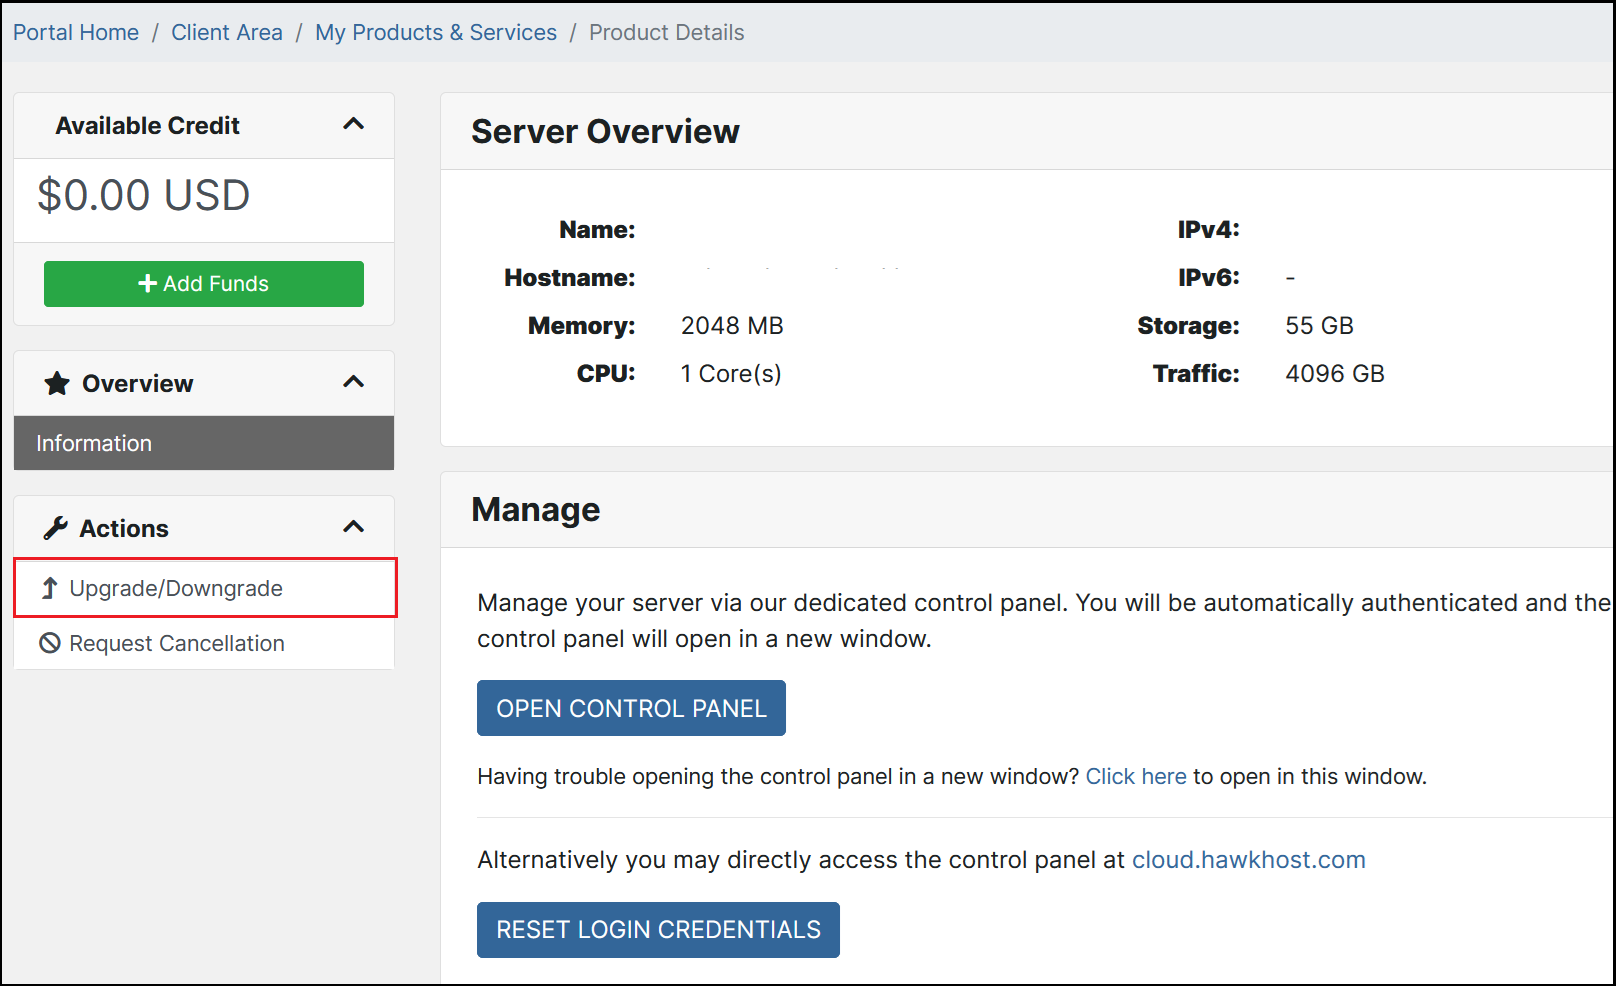
On the Server Overview page, click Upgrade/Downgrade in the left-side Actions menu.
-
Complete the upgrade order and pay the invoice. Then return to the Server Overview page and click Open Control Panel to log in to your cloud panel.

-
In your cloud panel, an orange banner will indicate Pending Changes. We recommend issuing a shutdown directly from your server or from our cloud panel. If you prefer, you can also click Shutdown from the cloud panel then Boot to safely perform your upgrade.


If you encounter any issues during the upgrade, contact our billing department for assistance.