
Windows and macOS Traceroute Instructions
A traceroute shows the network path between your computer and a destination server, helping diagnose connectivity issues. Our support team may ask you to provide traceroute output when troubleshooting network problems.
Windows
Section titled “Windows”-
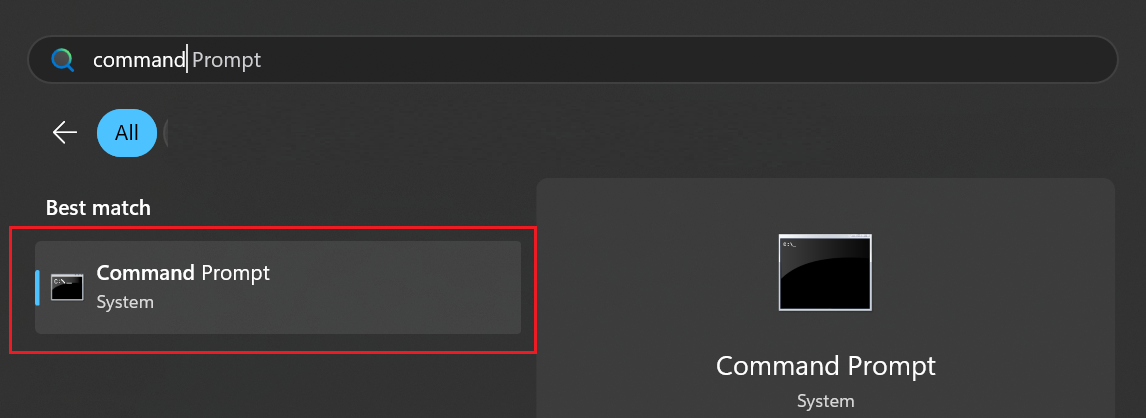
Click the Start menu (or press the Windows key) and type command.
-
Click Command Prompt to open it.
-
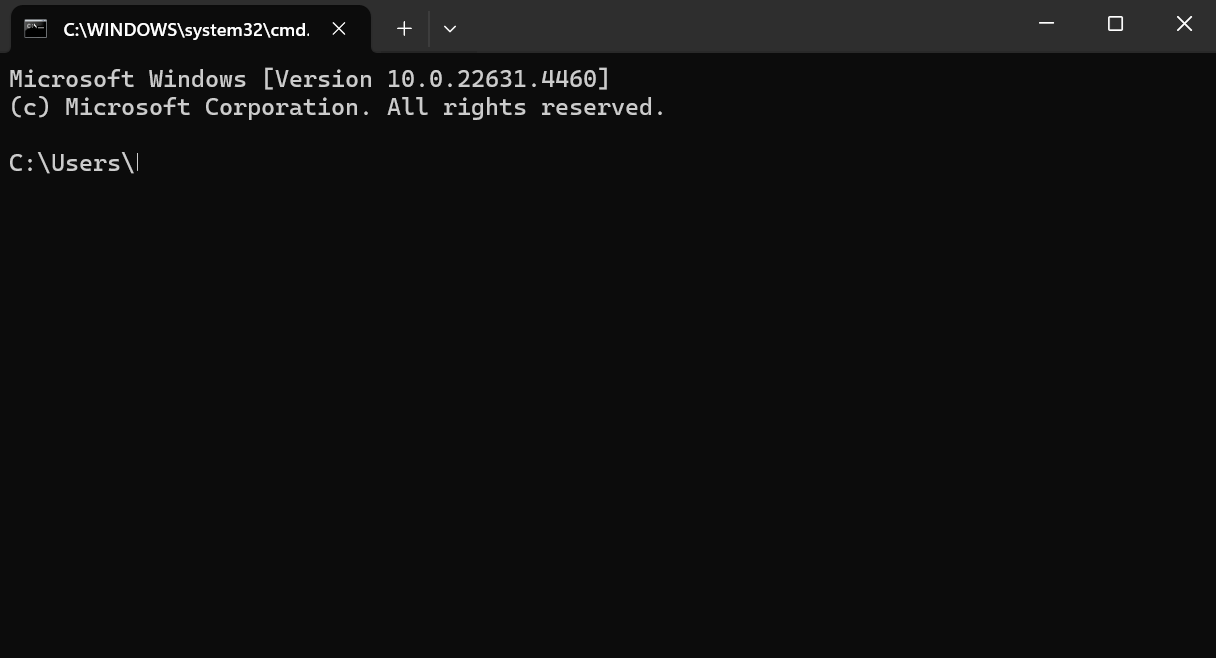
A command prompt window will appear.
-
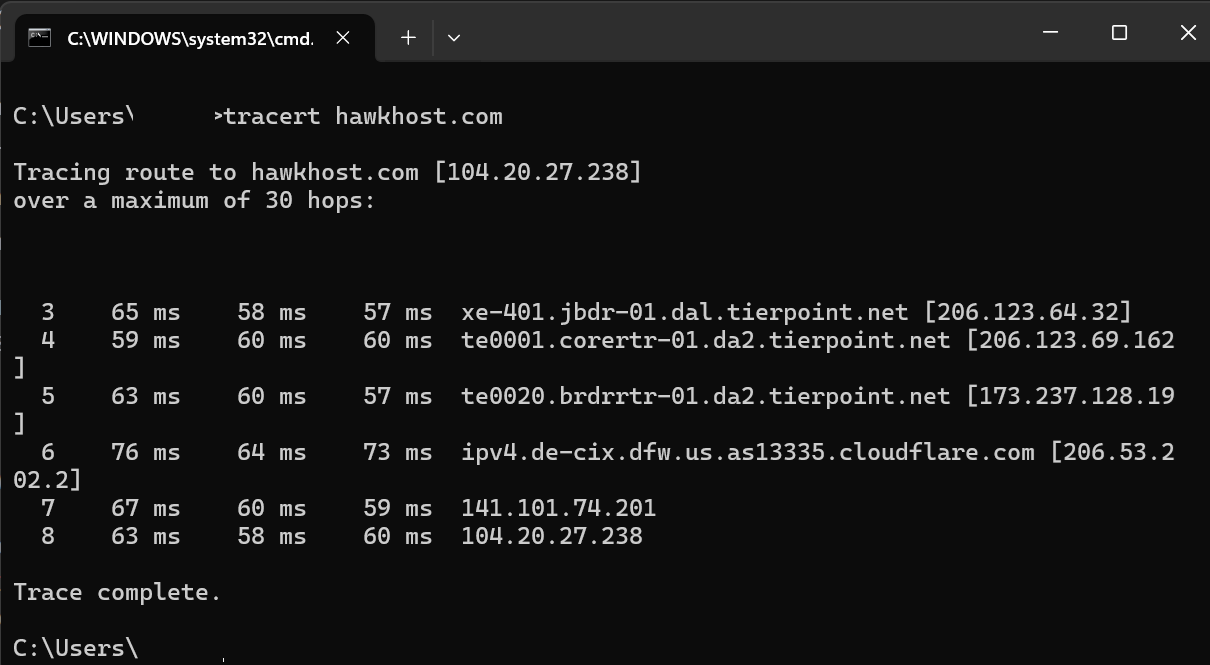
Type the following command and press Enter (replace
domain.comwith your actual domain):tracert domain.com -
Wait for the traceroute to complete. You’ll see the message “Trace complete.” when it’s done.
-
Highlight the traceroute output with your mouse, then press Enter or Ctrl+C to copy it. You can also take a screenshot.
-
Paste the output into your support ticket or email.
-
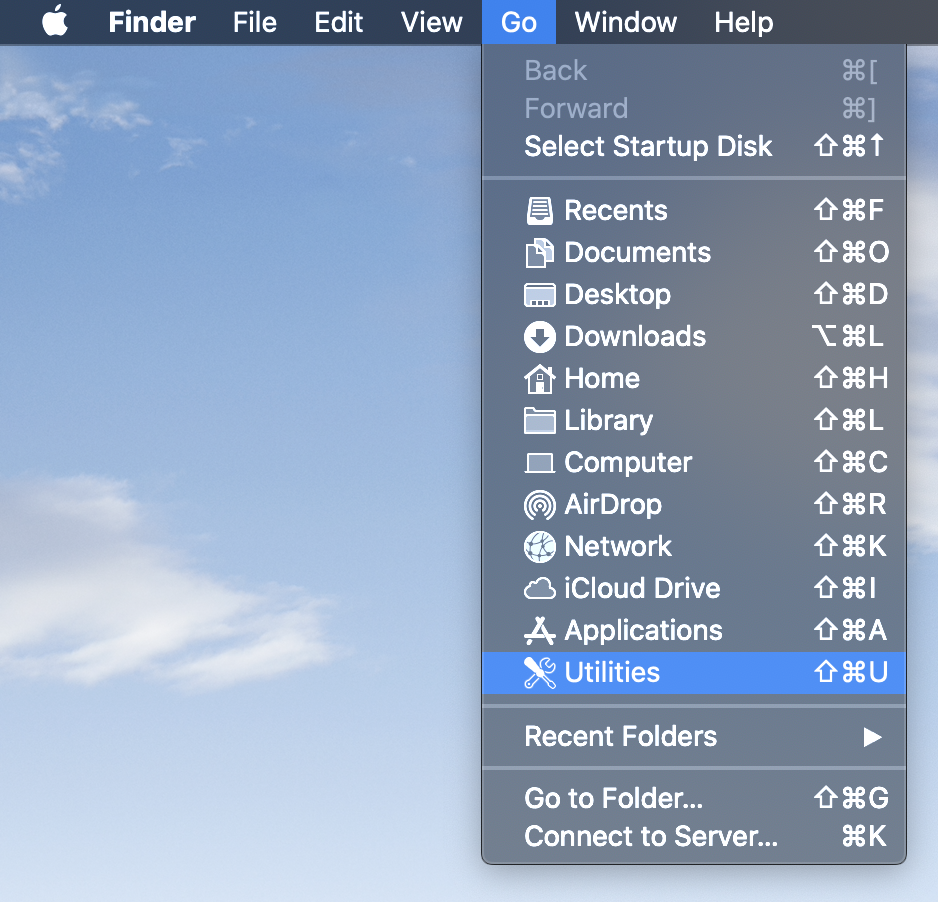
Open Finder, click the Go menu, and select Utilities.
-
Open Terminal from the Utilities folder.
-
Type the following command and press Return (replace
domain.comwith your actual domain):Terminal window traceroute domain.com -
Wait for the traceroute to complete. Your cursor will return to the command prompt when finished.
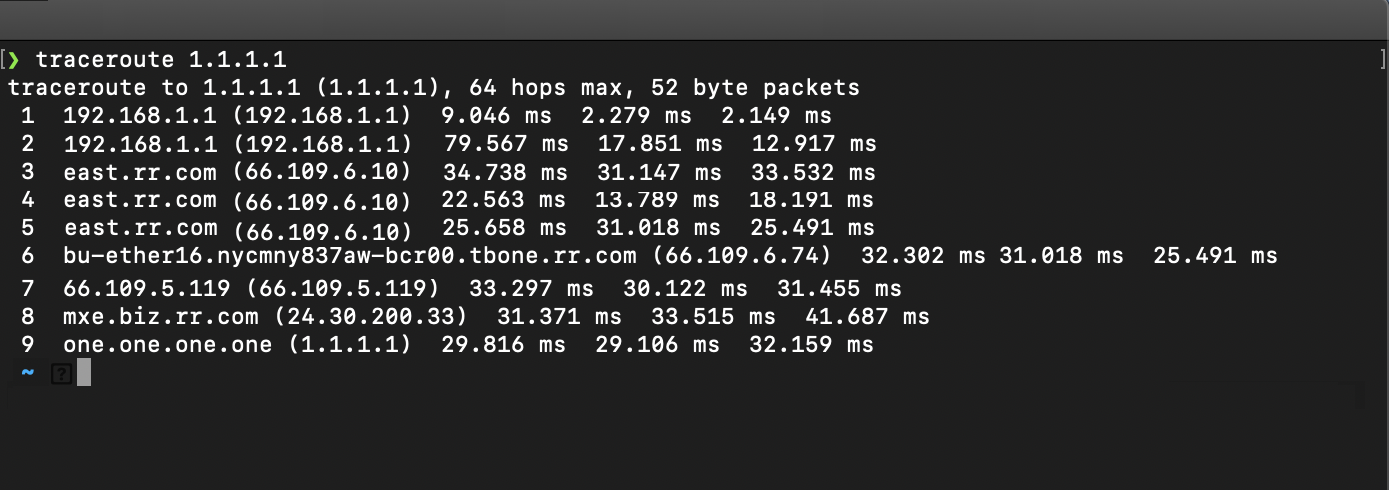
-
Select all the text in the Terminal window and press Cmd+C to copy (or use Edit > Copy).
-
Paste the output into your support ticket or email.