
How do I enable and manage memcached on my hosting account?
All shared, semi-dedicated, and reseller hosting plans include a free memcached instance. Memcached is enabled through cPanel’s Server Application Manager.
Enabling memcached
Section titled “Enabling memcached”-
Log in to cPanel and search for Server Application Manager (or “memcached”).

-
Click the Server Application Manager icon.
-
Find memcached in the list and click Enable under the Actions column.

-
It can take up to 5 minutes for your memcached instance to start. Refresh the page until the status changes to Online.

-
Once online, your memcached socket path will be displayed. Use this socket path when configuring your application.

Setting Memory Limit
Section titled “Setting Memory Limit”-
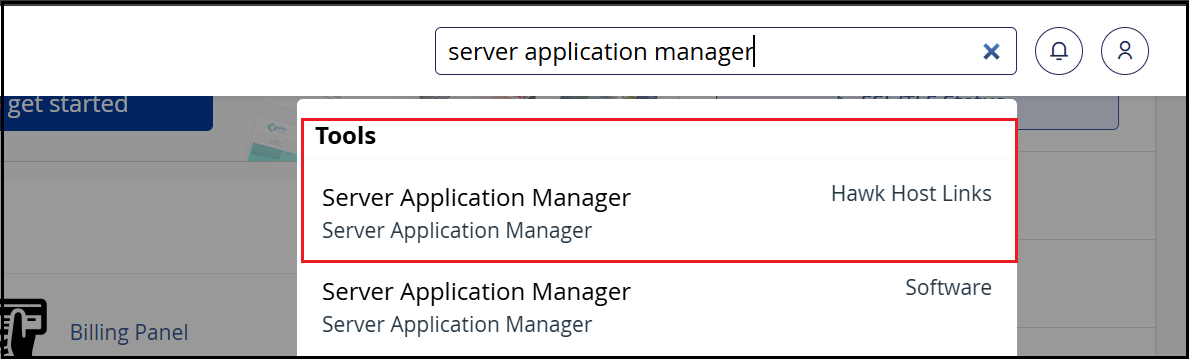
Log in to cPanel and search for Server Application Manager.
-
Find Memcached in the list and under the Max Memory column, enter the amount of memory you want to allocate to Memcached and click Set.

-
It can take up to 5 minutes for your Memcached instance to restart with the new defined memory limit.
Using memcached with your application
Section titled “Using memcached with your application”When configuring your CMS or application to use memcached, use the Unix socket path shown in the Server Application Manager — not localhost or 127.0.0.1. For WordPress with LiteSpeed Cache, see Configuring Redis or Memcached socket with LSCache for WordPress.
If you have any issues starting memcached or configuring your application, contact our support team.