Completing your cloud vps setup
After receiving your cloud vps Activated - Complete Your Setup! welcome email, follow this guide to finish provisioning your compute.
Navigate to your service
Section titled “Navigate to your service”-
Log in to your client area and navigate to Services > My Services.
-
Your active service list will show a product matching the compute plan you purchased (e.g., cloud-lax-2GB):

-
Click the green Active button to the right of that service:

Open the cloud control panel
Section titled “Open the cloud control panel”-
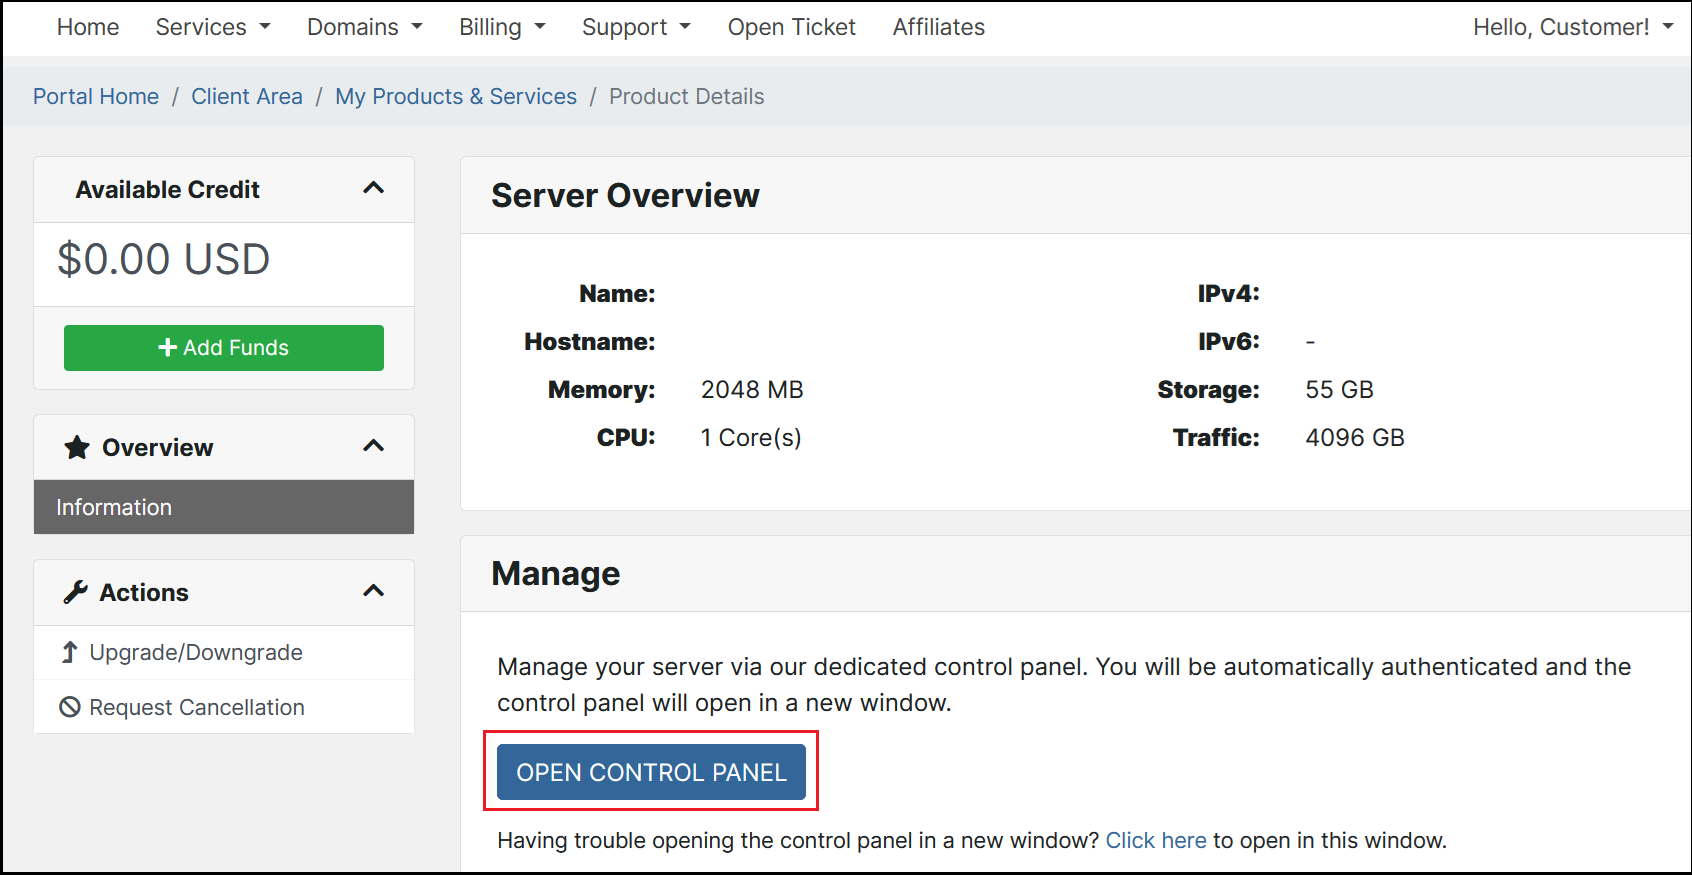
On the compute details page, click Open Control Panel:
-
Your browser will redirect to cloud.hawkhost.com and display the Server Setup page.
Configure server settings
Section titled “Configure server settings”-
Enter a Name for your compute. This name is used for easy searching in your service list:

-
Enter a Hostname (e.g.,
compute.yourdomain.comorhost.yourdomain.com):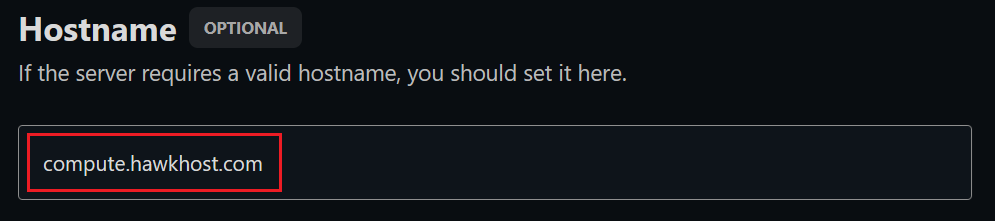
-
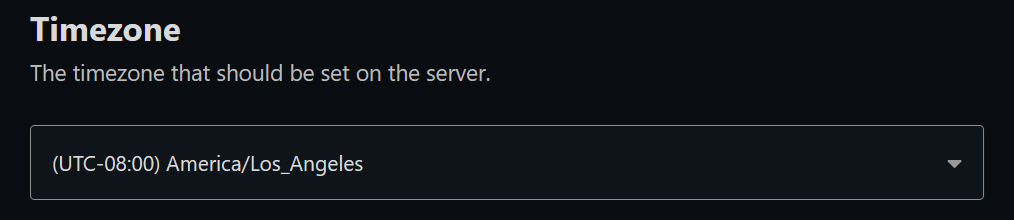
Select your desired Timezone. We recommend choosing one that matches your compute’s datacenter location:
-
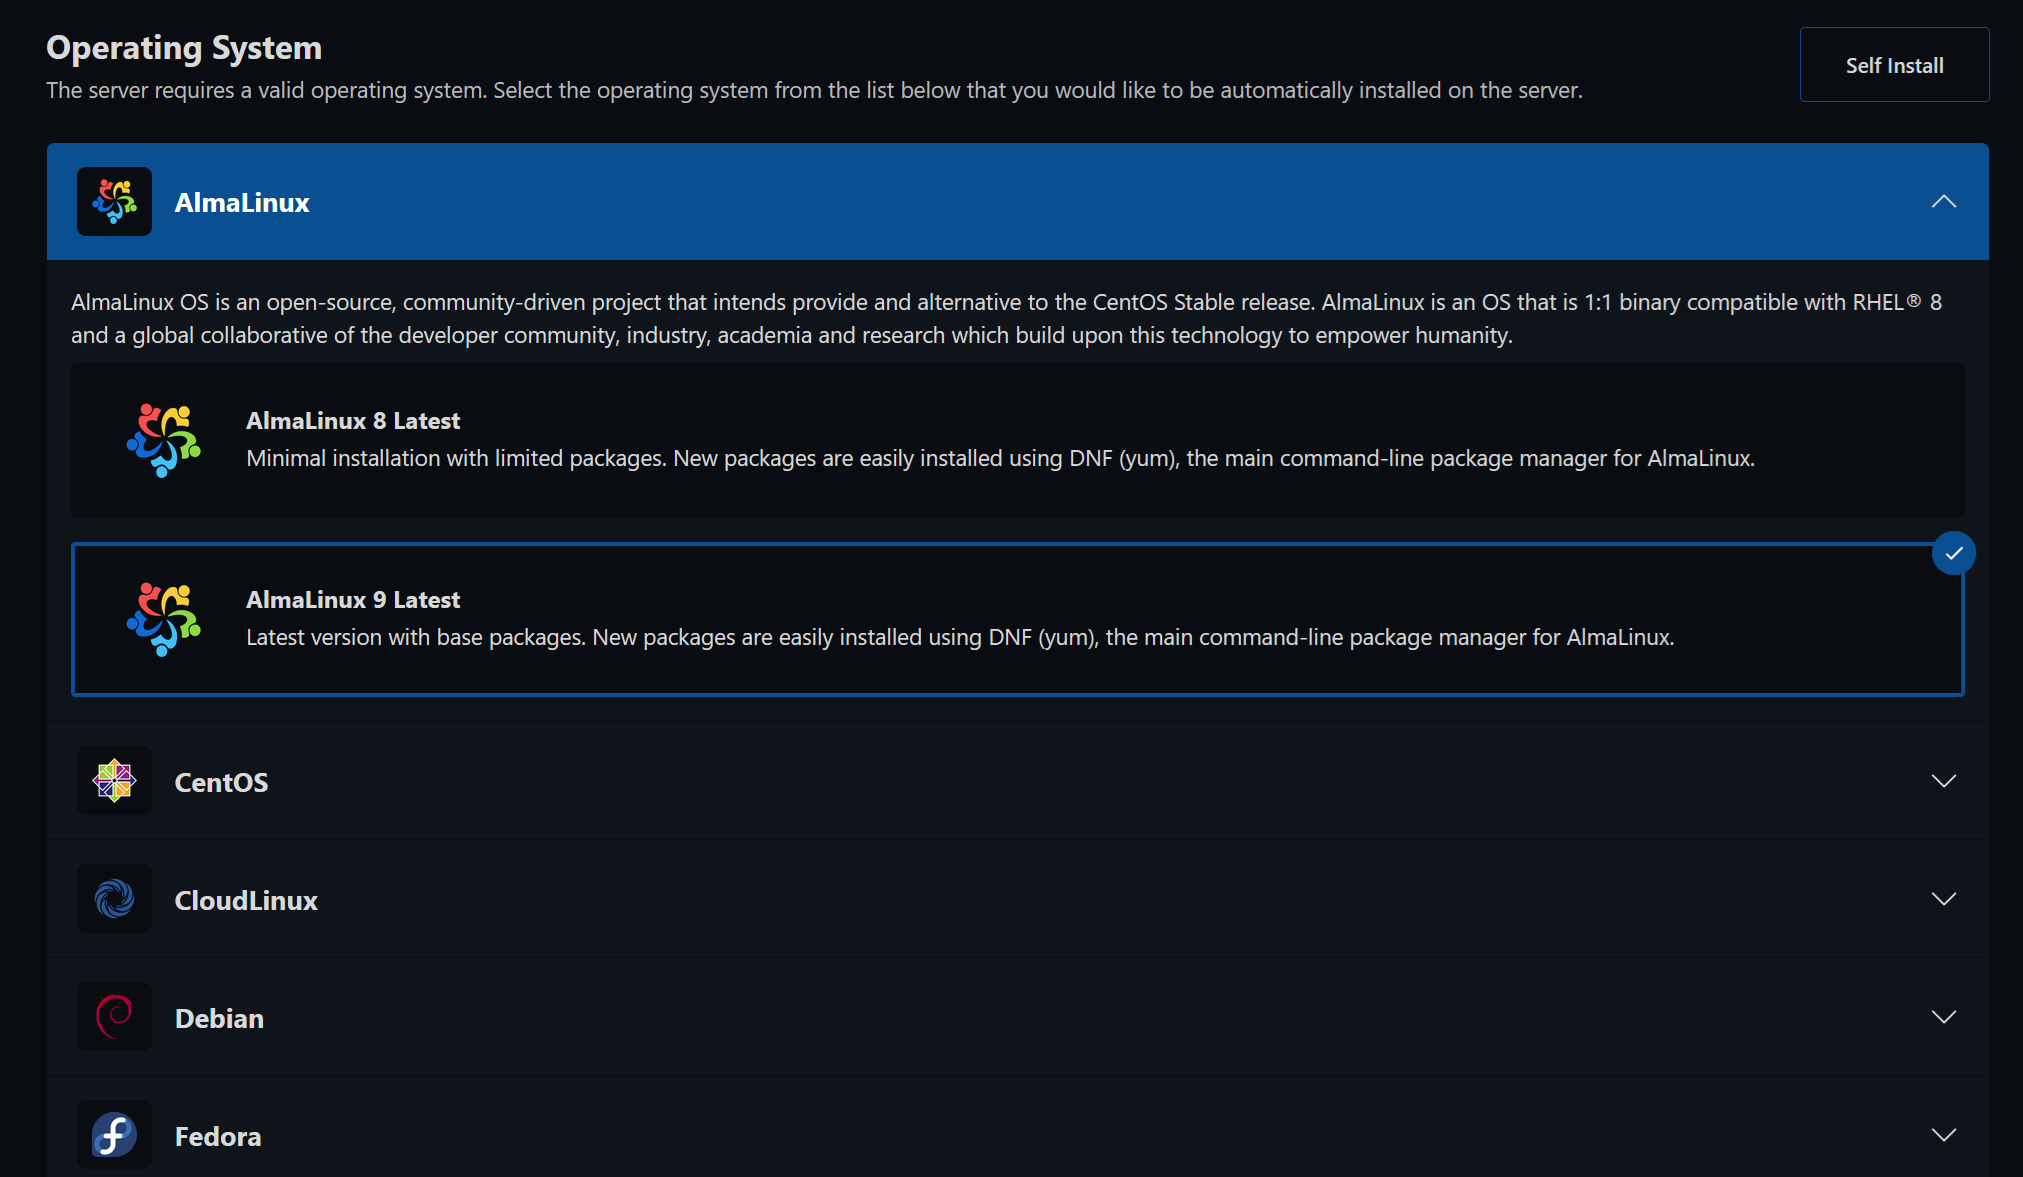
Select your desired Operating System. If you purchased a cPanel/WHM or DirectAdmin license, be sure to choose the appropriate template:
-
(Optional) Add your SSH public key for passwordless login. If you don’t have SSH keys or are unsure, you can safely skip this step.
Deploy your compute
Section titled “Deploy your compute”-
Review your selections and click the Install button:

-
If you skipped the SSH key step, a notice will ask if you’d like to proceed without one. Click Install Without to continue.
-
After clicking Install, your browser will display the build progress:
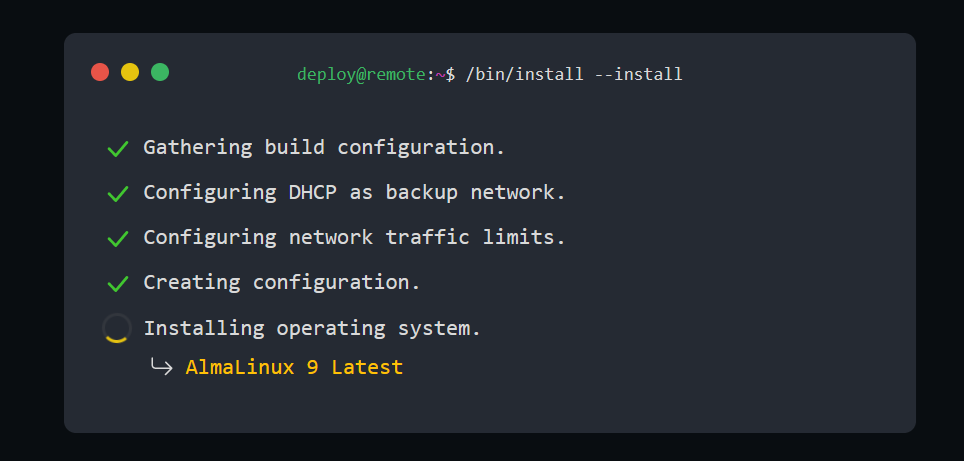
-
Once complete, you’ll see your new compute’s control panel:
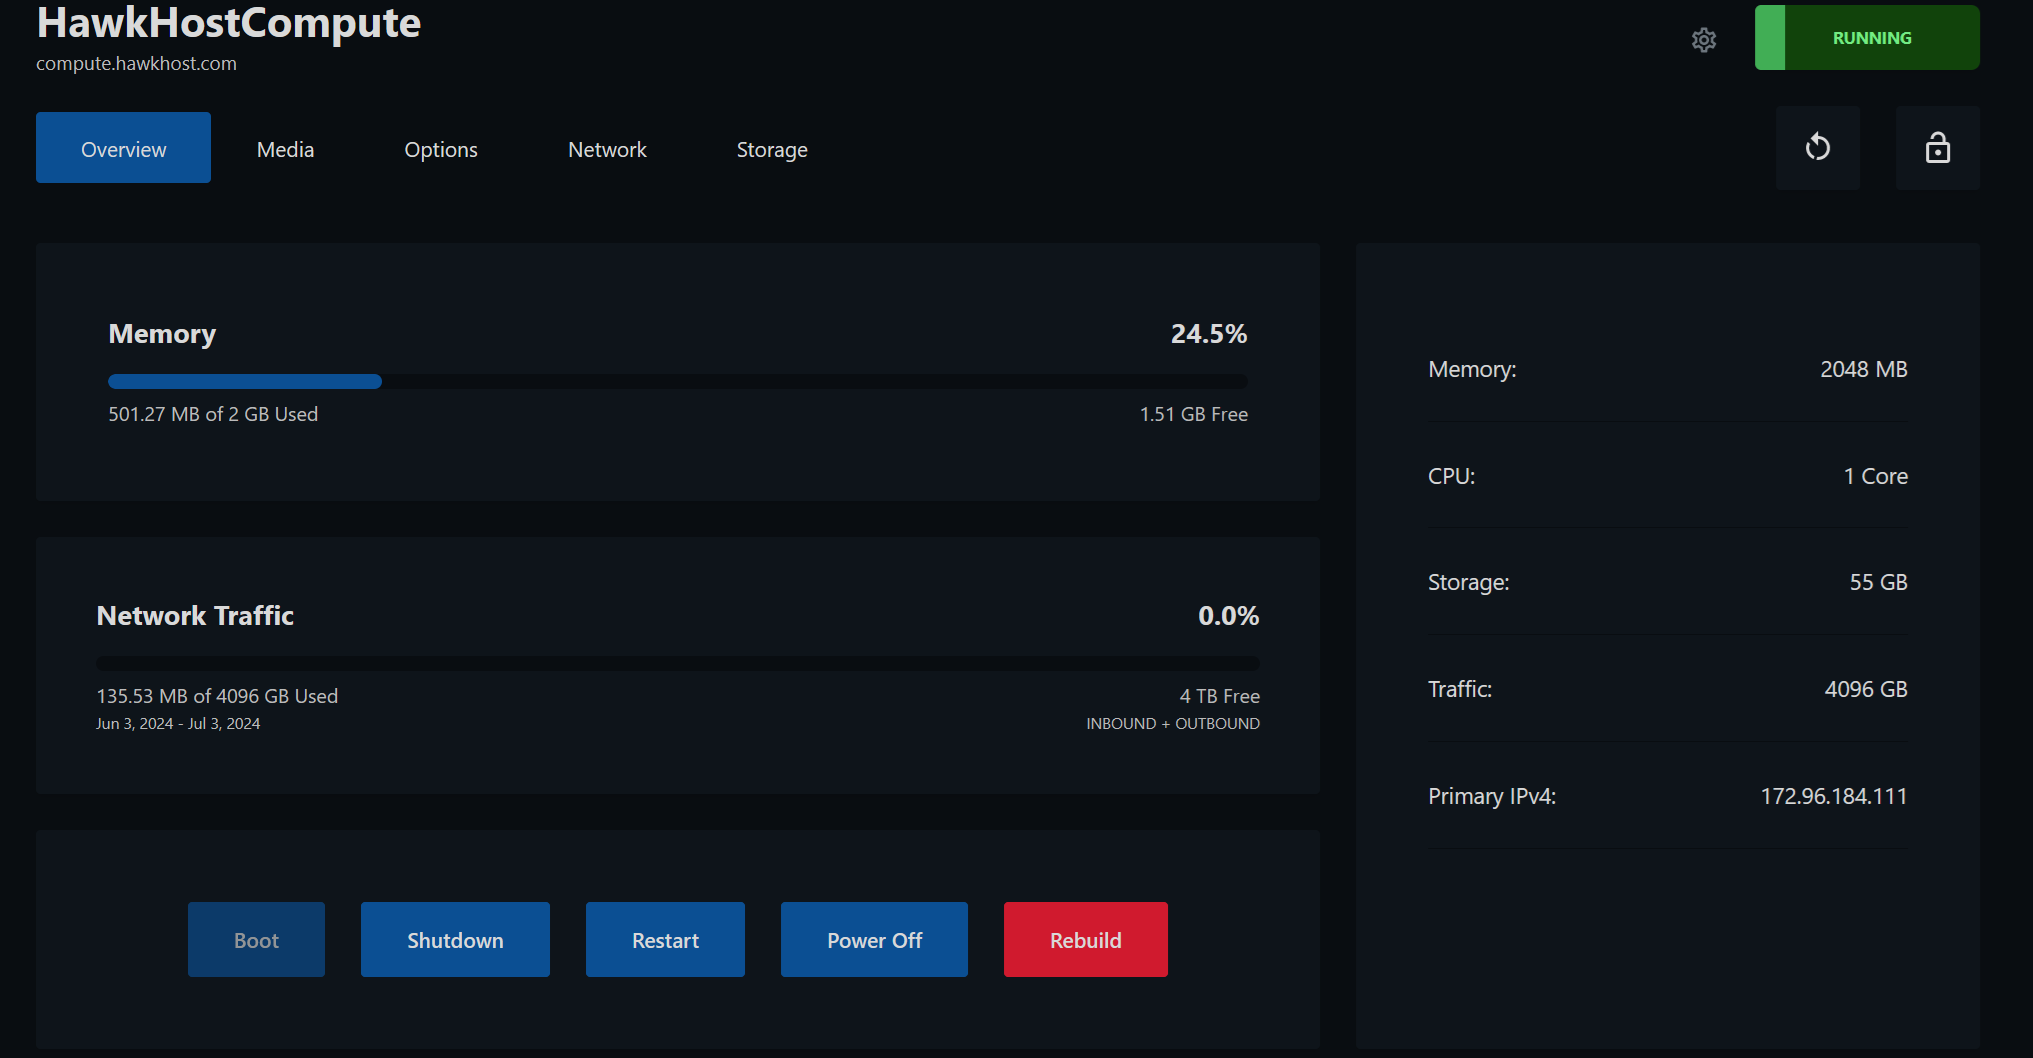
-
Your compute is now ready! Check your email for a message from Hawk Host Cloud titled “Your Compute is Ready!” containing your compute IP and root password.
Need help?
Section titled “Need help?”If you’re having trouble completing the setup, open a support ticket or email support@hawkhost.com with the following details:
- Your support PIN for identity verification
- Your desired operating system
- The hostname or domain name to associate with your compute