How do I enable, disable, or flag LiteSpeed Cache for WordPress?
All shared, cloud web hosting, semi-dedicated, and reseller plans support the LiteSpeed Cache for WordPress (LSCWP) plugin at no additional cost. This plugin drastically improves performance of WordPress sites. Our systems automatically attempt to optimize your sites with caching, but you can also manually manage it.
Enabling LiteSpeed Cache
Section titled “Enabling LiteSpeed Cache”-
Log in to cPanel and search for LiteSpeed Web Cache Manager:

-
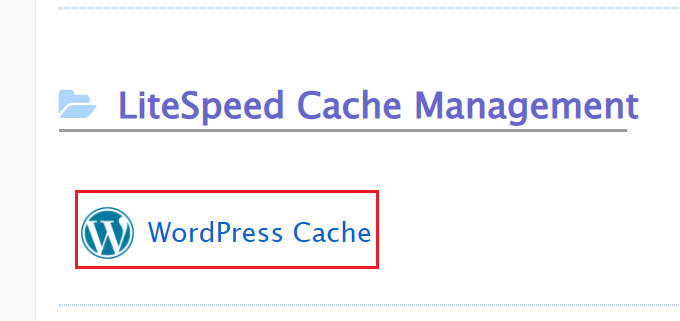
Select WordPress Cache under the LiteSpeed Cache Management menu:

-
Click Scan to detect all WordPress installations on your account:
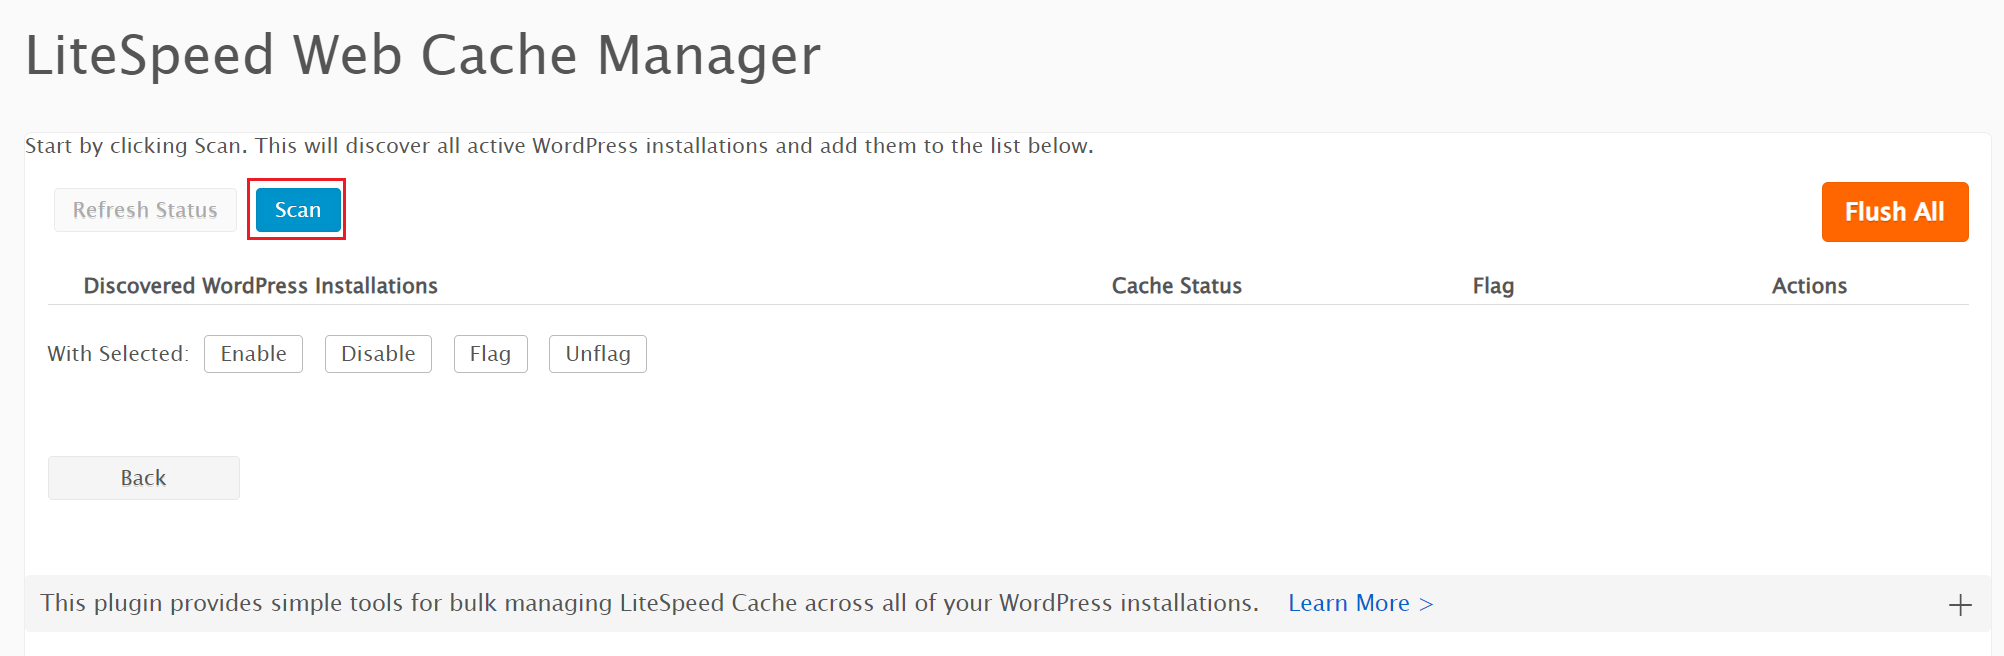
-
Under Discovered WordPress Installations, click Enable next to the installation you want to cache:

-
The Cache Status will change from “Disabled” to “Enabled”:

Disabling LiteSpeed Cache
Section titled “Disabling LiteSpeed Cache”-
Log in to cPanel and search for LiteSpeed Web Cache Manager:

-
Select WordPress Cache under the LiteSpeed Cache Management menu:
-
Click Disable next to the installation under the Actions menu:

-
The Cache Status will change from “Enabled” to “Disabled”:

Flagging (blocking) LiteSpeed Cache
Section titled “Flagging (blocking) LiteSpeed Cache”Flagging prevents the system from automatically enabling LiteSpeed Cache on a WordPress installation in the future.
-
Log in to cPanel and search for LiteSpeed Web Cache Manager:

-
Select WordPress Cache under the LiteSpeed Cache Management menu:

-
Make sure the Cache Status is Disabled for the installation you want to flag.
-
Click Flag under the Actions menu:

-
A flag icon will appear. This installation will be excluded from future automatic LiteSpeed Cache installations until the flag is removed:
