How do I log into SSH (shared / cloud web hosting)?
All shared, cloud web hosting, semi-dedicated, and reseller plans include SSH access. Follow the steps below to connect to your account using SSH.
Prerequisites
Section titled “Prerequisites”- An SSH client installed on your computer. We recommend PuTTY (free, Windows) or the built-in Terminal on macOS and Linux.
- Your New Account Information email, which contains your SSH hostname/IP, username, and password.
Connecting via SSH
Section titled “Connecting via SSH”Step 1: Open Your SSH Client
Section titled “Step 1: Open Your SSH Client”Start PuTTY or your preferred SSH client. Enter your domain name or account IP address into the Host Name field. The default port is 22.

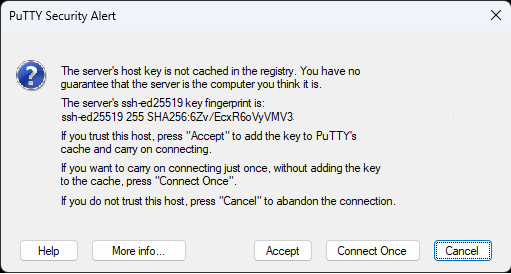
Step 2: Accept the Server Certificate
Section titled “Step 2: Accept the Server Certificate”Press Enter on your keyboard or click the Open button in PuTTY. If this is your first time connecting, you will be prompted to accept the server’s host key. Click Accept — it is safe to accept this certificate.
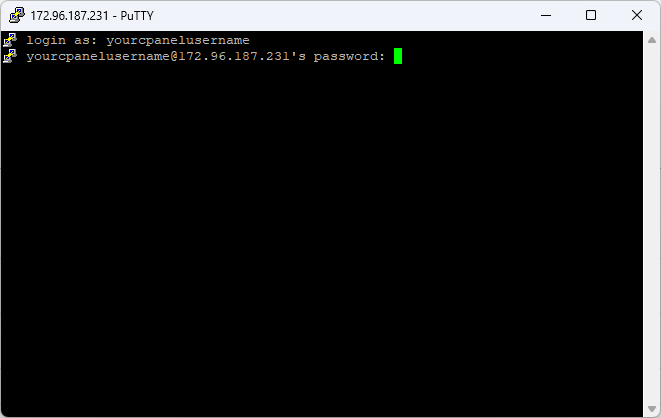
Step 3: Enter Your Credentials
Section titled “Step 3: Enter Your Credentials”You will see a terminal prompt asking for your login. Enter your cPanel username as the login name, then enter your cPanel password from the New Account Information email.
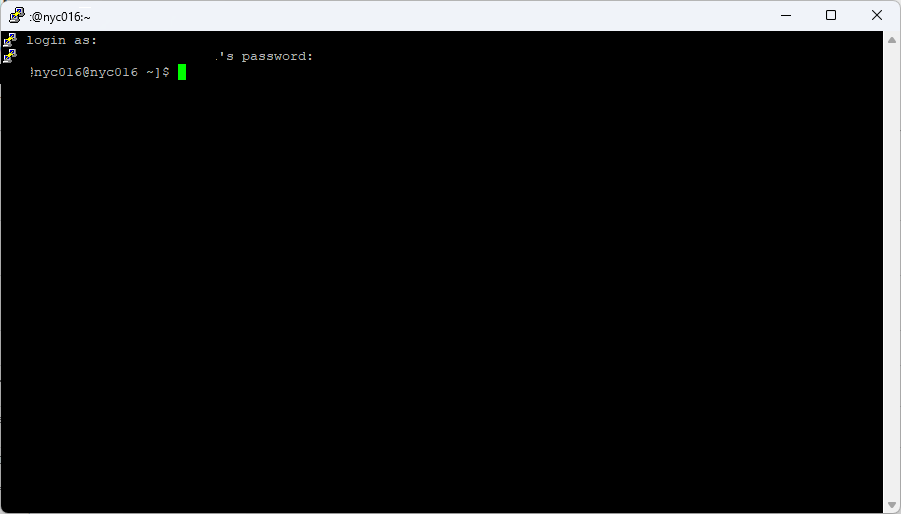
Step 4: Confirm Login
Section titled “Step 4: Confirm Login”Once you have entered your username and password, press Enter to complete the login. You should now be connected to your hosting account via SSH.
Using SFTP Instead
Section titled “Using SFTP Instead”If you need to transfer files, consider using SFTP which provides a graphical file transfer interface over the same secure SSH connection.
Related Articles
Section titled “Related Articles”If you encounter any issues, please submit a support ticket with details of the error.