Configuring Redis or Memcached socket with LSCache for WordPress
This guide assumes you have already installed the LiteSpeed Cache (LSCache) plugin for WordPress. If you have not yet installed it, refer to How to enable/disable or flag LiteSpeed Cache for WordPress first.
All Hawk Host shared, reseller, and semi-dedicated plans support Redis and Memcached. These services use a socket connection (not an IP/port) on shared hosting.
Step 1: Enable Redis or Memcached in cPanel
Section titled “Step 1: Enable Redis or Memcached in cPanel”-
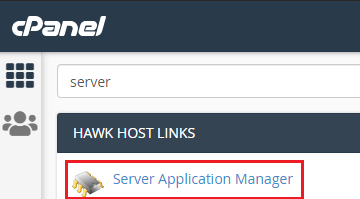
Log in to cPanel and search for Server Application Manager:
-
Click Enable to spin up your Redis or Memcached instance:

-
It takes approximately 5 minutes for the instance to start.
Step 2: Enable the PHP extension
Section titled “Step 2: Enable the PHP extension”-
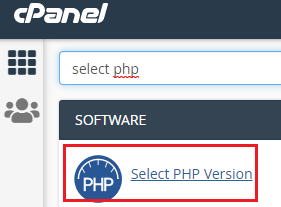
While waiting, search cPanel for Select PHP Version:
-
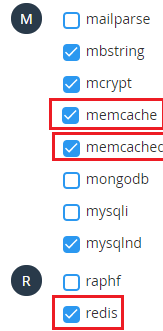
Click the Extensions tab:

-
Enable the redis or memcached PHP extension (whichever you plan to use):
Step 3: Copy the socket path
Section titled “Step 3: Copy the socket path”-
Return to the Server Application Manager in cPanel. You should now see a socket path listed:

-
Copy the socket path — you will need it in the next step.
Step 4: Configure LiteSpeed Cache in WordPress
Section titled “Step 4: Configure LiteSpeed Cache in WordPress”-
Log in to your WordPress admin dashboard and click LiteSpeed Cache in the left navigation:
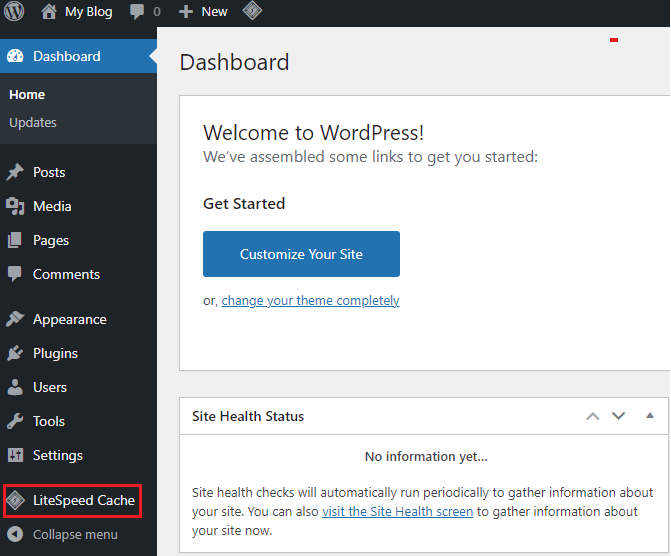
-
Click the Cache menu:
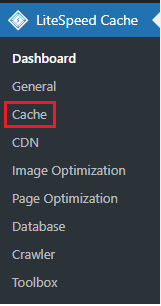
-
Click the Object tab:

-
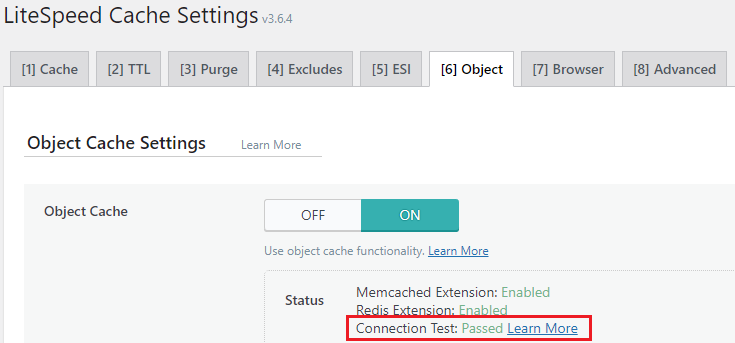
Set Object Cache to ON:
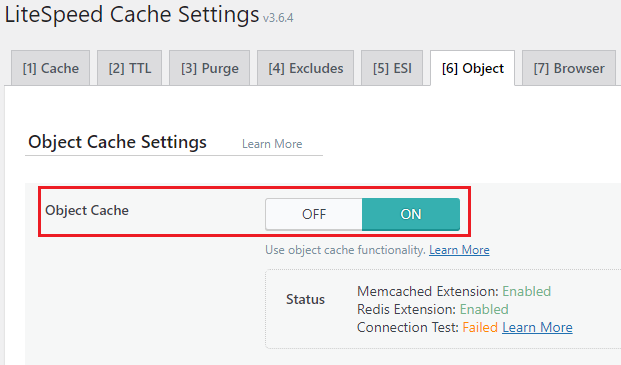
-
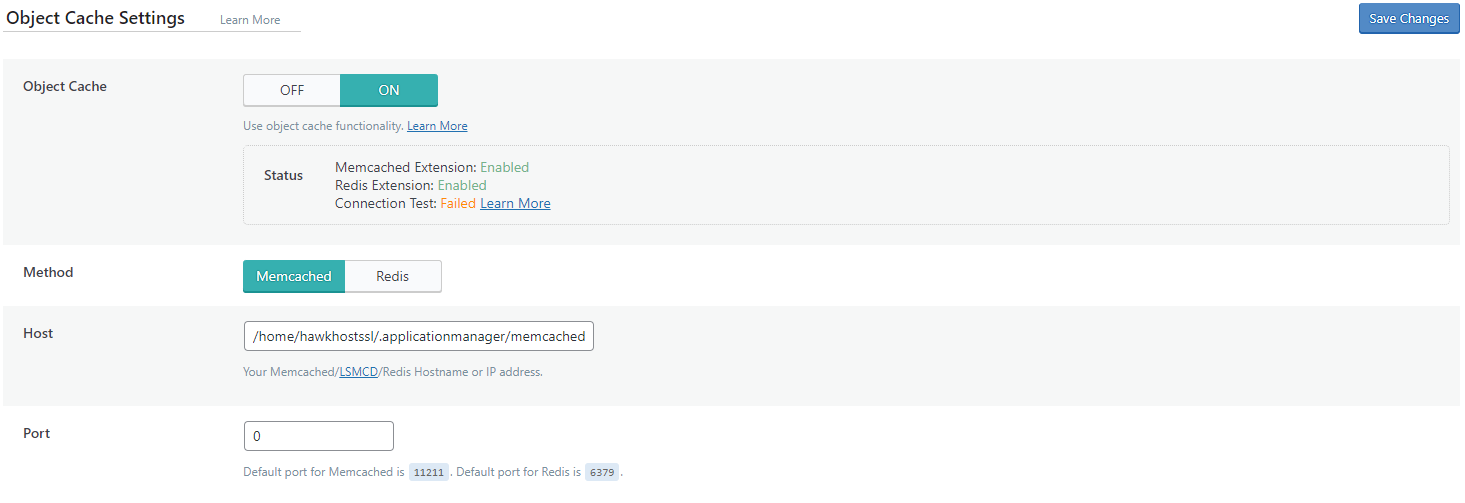
Select your cache method (Memcached or Redis).
-
In the Host field, paste the socket path from Step 3.
-
Set the Port field to 0.
-
Leave all other settings at their defaults unless you have a specific reason to change them. Click Save Changes:
-
If configured correctly, you will see Connection Test: Passed under the Status display: